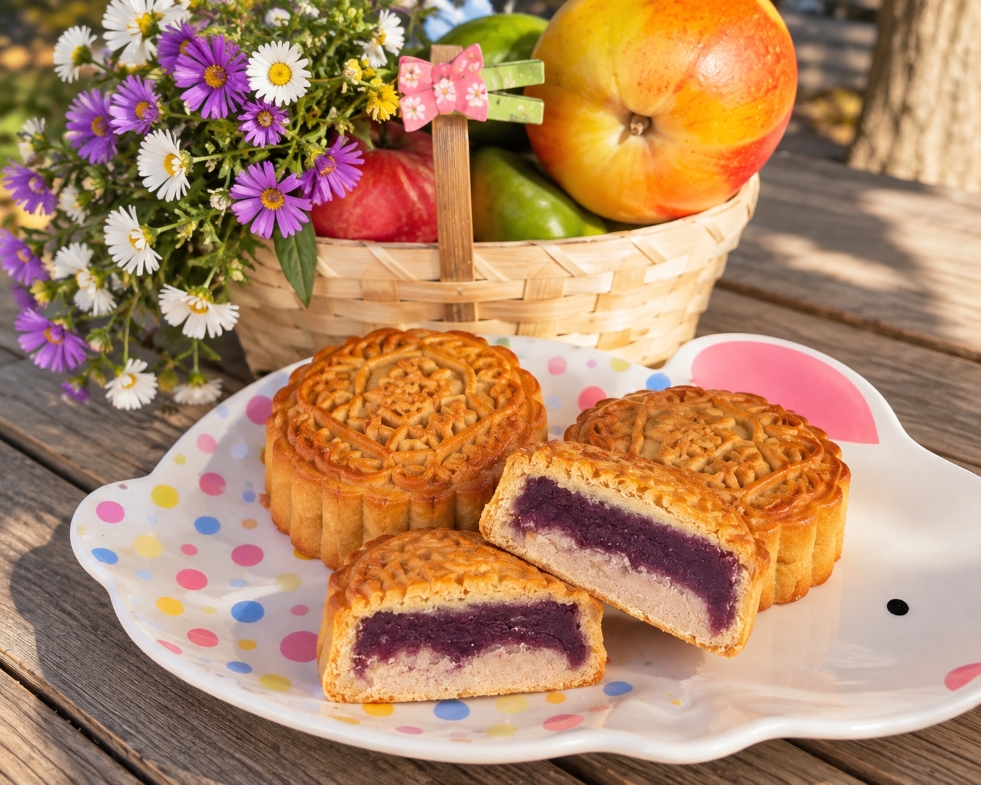
Ingredients
Method
Prepare the taro and purple sweet potato
- Peel the taro and purple sweet potato and cut them into pieces.
- Steam until completely tender. They should be soft enough to mash easily with a fork.
- Weigh 250 g cooked taro and 250 g cooked purple sweet potato.
Blend the filling
- Place the cooked taro and purple sweet potato in a food processor with the coconut milk, sugar and salt. Start with 80 g coconut milk, blend, and add the remaining 20 g only if needed. Taro and sweet potatoes can vary quite a lot in moisture.
- Blend until very smooth.
- Try not to add extra water. If your blender has difficulty processing the mixture, add only a small amount at a time.
- Add the vegetable oil and blend again until completely incorporated.
- Mix the flour with 20 g water until smooth, then add it to the filling.
Cook the filling
- Transfer the mixture to a wide microwave-safe bowl.
- Microwave at approximately 700–800 W for 2 minutes, then remove and stir thoroughly.
- Continue cooking in 2-minute intervals at first, stirring between each round.
- As the filling thickens, reduce the intervals to 1 minute.
- Towards the end, microwave for only 30 seconds at a time, stirring thoroughly after each interval.
- The filling is ready when it forms a soft, cohesive mass that holds its shape.
- Don't make it too dry while it is hot. The taro, sweet potato and coconut will continue to absorb moisture as the filling cools.
- Let the filling cool completely before weighing and rolling it into balls.
Make the dough
- Combine the golden syrup, custard powder, egg yolk and vegetable oil in a mixing bowl.
- Mix until smooth and evenly combined.
- Add 165 g cake flour and gently mix with a spatula until a soft dough forms.
- At this stage, don't automatically add all of the additional flour. Different brands of flour absorb liquid differently.
- Cover the dough and let it rest for approximately 30–45 minutes.
- After resting, check the consistency. If the dough is still too sticky to work with, add additional cake flour gradually until it becomes soft, smooth and manageable.
- Avoid adding too much flour. The dough should remain supple enough to stretch around the filling without cracking.
- Also avoid kneading it like bread dough. Mix only as much as necessary to bring everything together.
Egg Wash
- Mix gently until combined.
- Try not to whisk vigorously because you don't want lots of bubbles in the egg wash.
Assemble the Mooncakes
- Make sure both the filling and dough are completely cool before assembling.
- Divide the filling into balls according to the size of your mooncake mould.
- For a classic thin-skinned baked mooncake, I like approximately 30% dough to 70% filling.
- For example:
- 100 g mooncake: approximately 30 g dough + 70 g filling.
- 75 g mooncake: approximately 23 g dough + 52 g filling.
- The exact ratio can be adjusted depending on your mould and how comfortable you are wrapping a thin mooncake skin.
- Roll a portion of dough into a ball and gently flatten it into a disc.
- Place the filling in the centre.
- Slowly push and stretch the dough upward around the filling until it is completely enclosed. Pinch the seam closed and gently roll it into a smooth ball.
- Lightly dust the mooncake and mould with cake flour, shaking off all excess flour.
- Place the ball into the mooncake mould and press firmly onto a lined baking tray.
- Carefully release the mould.
Baking
- Preheat the oven to 180°C.
- Lightly mist the mooncakes with water before baking if desired.
- Bake for approximately 8–10 minutes, just until the crust has set and the pattern is firm.
- Remove from the oven and allow the mooncakes to cool for approximately 10–15 minutes.
- Brush a very thin layer of egg wash over the surface. Don't allow egg wash to pool inside the detailed patterns of the mould.
- Return to the oven and continue baking until the mooncakes are evenly golden, approximately another 10–15 minutes, depending on your oven and the size of the mooncakes.
- Keep an eye on them towards the end because the egg-washed surface can brown quickly.